Add a domain in SmtpMan
During Create Organization, step 2 is Domain Configuration (Mail Domain). After setup, open Settings → Domains to review the Team Email Domain and DNS table. Prefer keeping frontline mail off your primary corporate domain—see Separate frontline employee email from your primary domain.
- Add the employee email domain (often a subdomain)
- Open the DNS records SmtpMan shows
- Publish those records at your DNS provider
- Return to SmtpMan and run verification until status is Verified
Records SmtpMan shows you
Copy Host, Priority, and Value from the product table. SmtpMan verifies these record types:
Verified: 2026-07-22 · product DNS generator (MX + IMAP/SMTP CNAMEs)
SmtpMan-required DNS record list
| Type | Host | Priority | Value |
|---|---|---|---|
| MX | @ (or subdomain) | 10 | mx1.smtpman.com |
| MX | @ | 20 | mx2.smtpman.com |
| CNAME | imap | — | imap.smtpman.com |
| CNAME | smtp | — | smtp.smtpman.com |
For SPF, DKIM, and DMARC authentication background beyond these product records, see Employee email DNS setup: SPF, DKIM & DMARC.
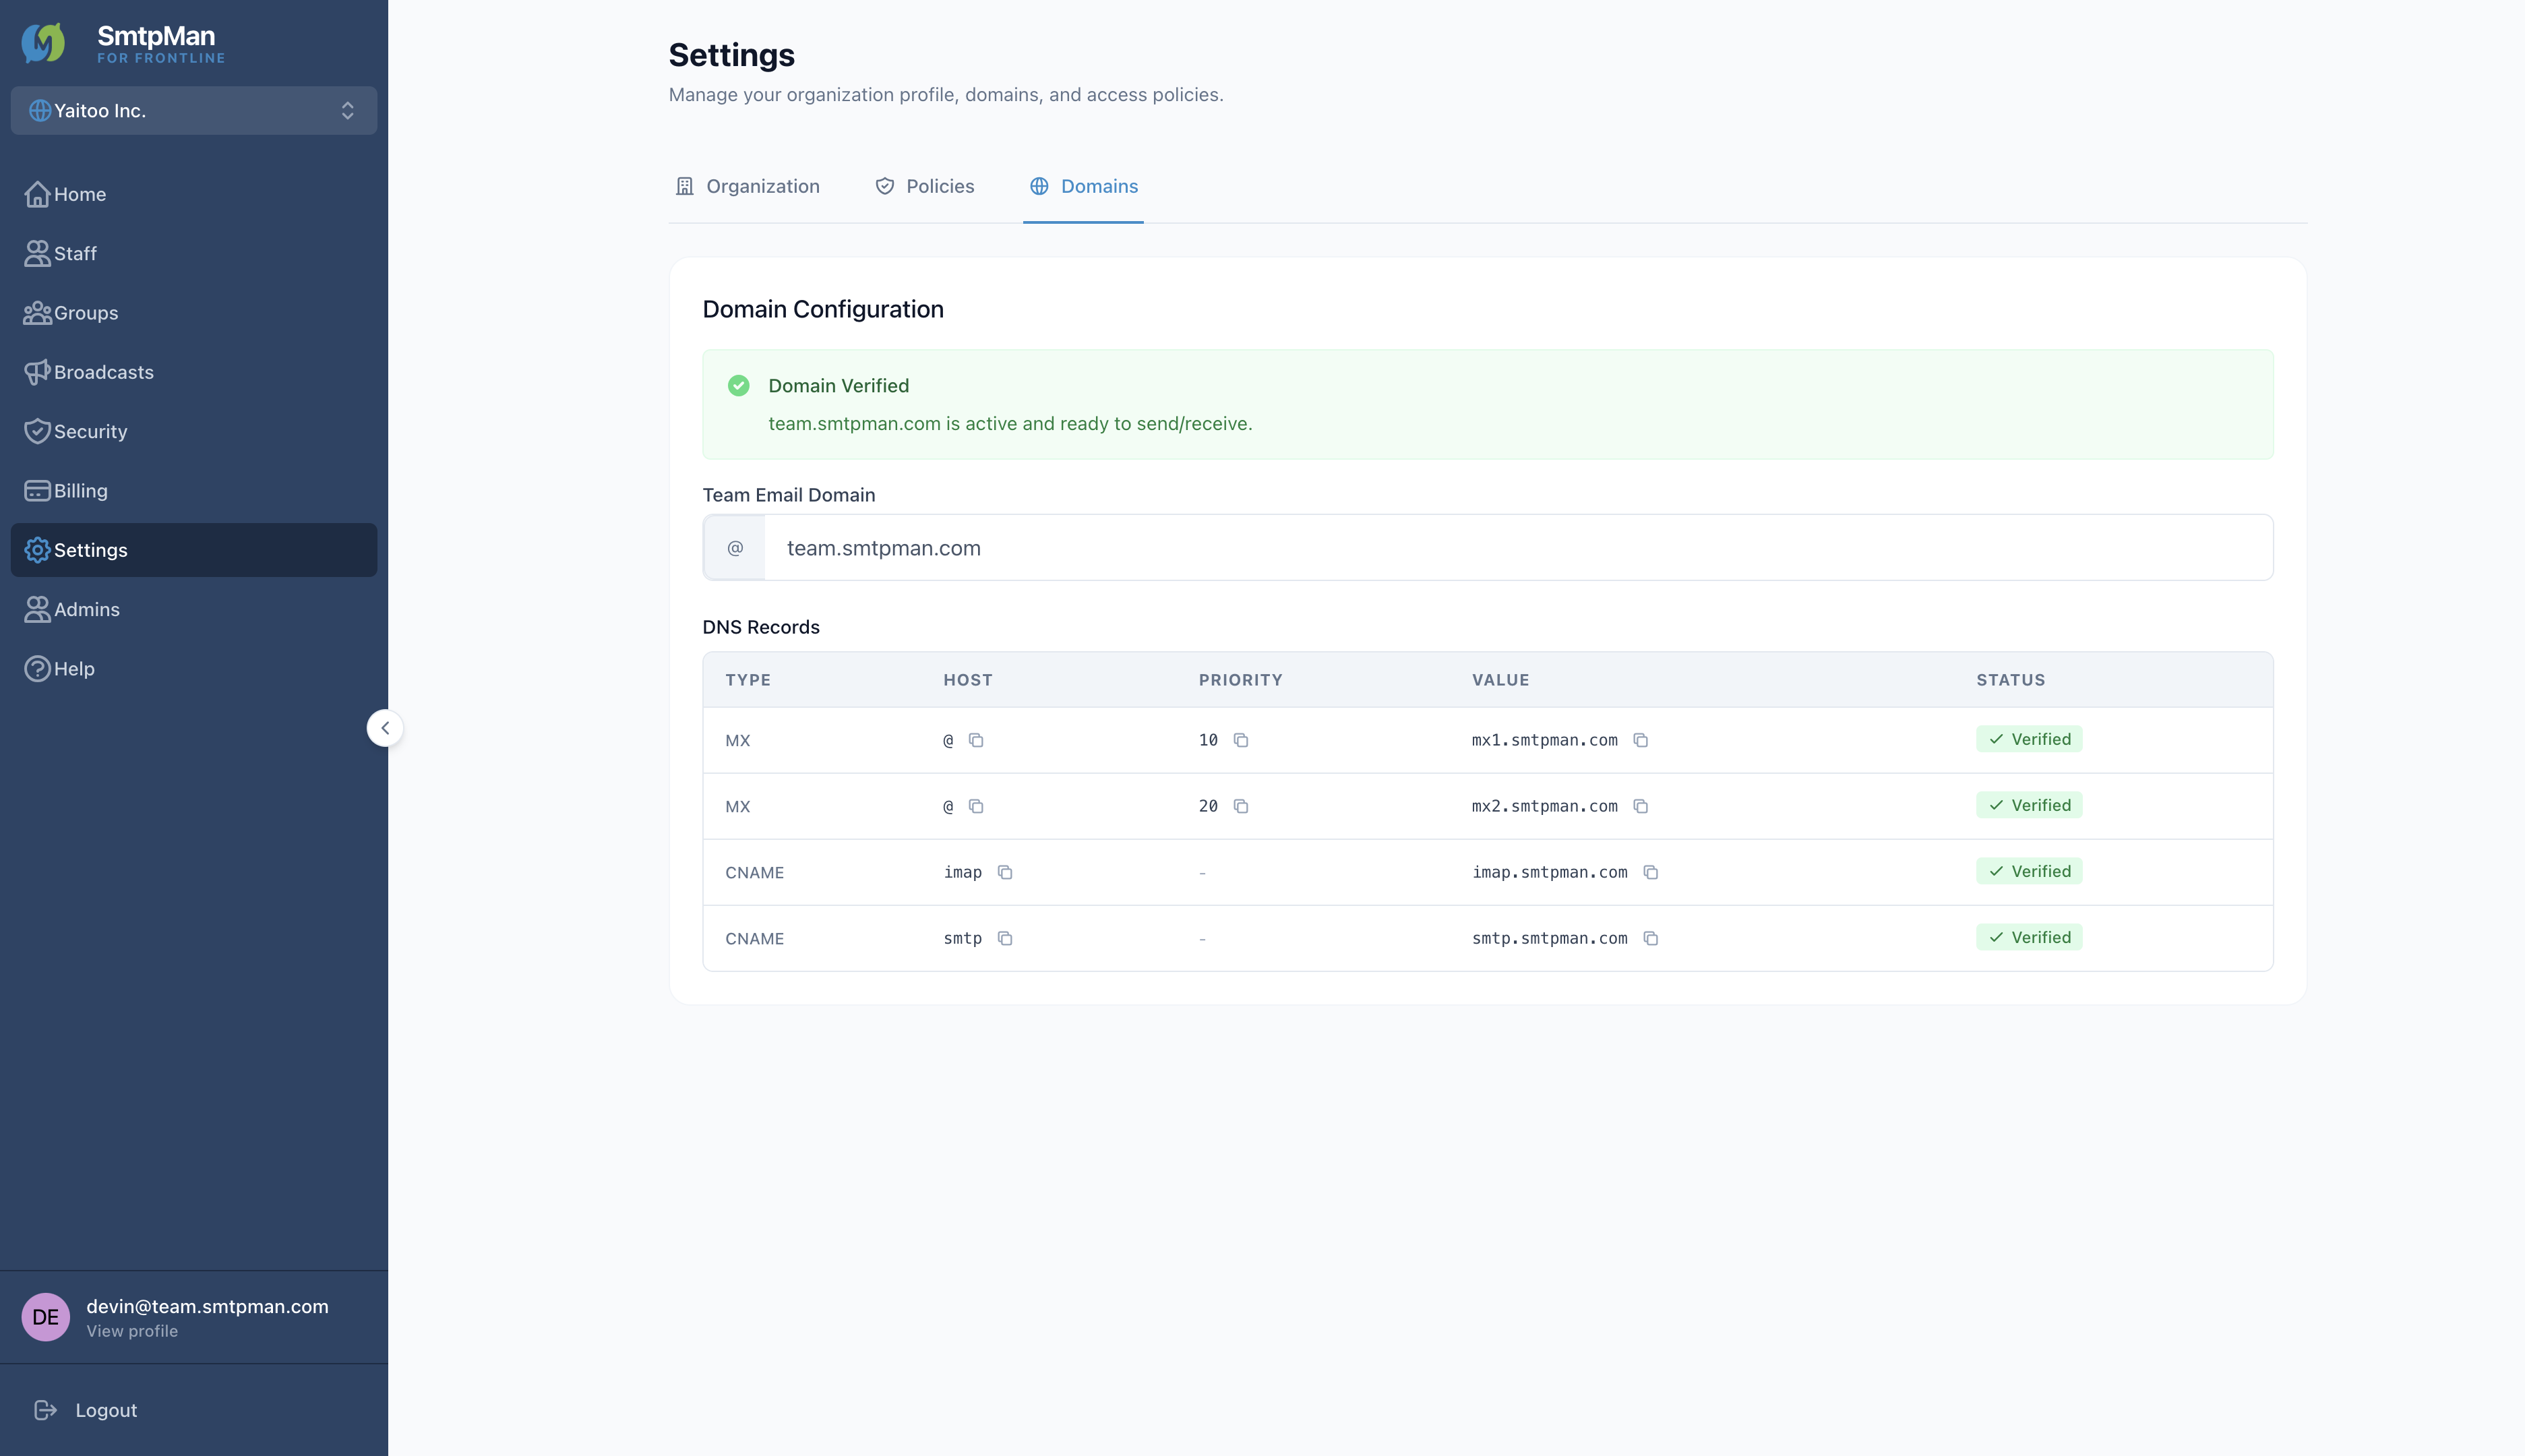
Verify domain status
Each row shows Verified, Pending, or Failed. Setup DNS step actions include Verify DNS, Skip & Create, and Complete Setup when all records are green. Settings → Domains shows a Domain Verified banner when the domain is active.
Verified
Record matches what SmtpMan expects.
Pending
Not checked yet or still propagating.
Failed
Mismatch or missing record (error text shown in the UI).
Common verification failures
- No MX records found / wrong priority or target
- No CNAME record found for imap or smtp
- CNAME target mismatch
- Editing the wrong zone (root vs subdomain)
- Checking before DNS has propagated
Rollout without changing primary MX: Employee email subdomain deployment without changing your primary domain.